You pull a part from the mold and it looks perfect. Dimensions check out, surface finish is clean, everything’s great.
Then you come back an hour later and the damn thing’s twisted like a potato chip.
If you’ve dealt with warping in Michigan facilities, you know it’s one of the most frustrating defects because it often doesn’t show up immediately. Parts warp hours or even days after molding, which makes troubleshooting a nightmare.
Let’s talk about why warping happens, why Michigan’s climate makes it worse, and what actually works to fix it.
What Warping Actually Is
Warping is dimensional distortion. Your part bends, twists, or bows because internal stresses are releasing or because different sections are shrinking at different rates.
Think of it like this: when plastic solidifies, it wants to shrink. If everything shrinks uniformly, you get a smaller but geometrically accurate part. But when one section shrinks more than another—or shrinks at a different rate—you get warping.
And here’s the thing that drives everyone crazy: sometimes warpage happens right away. Other times it shows up gradually as residual stresses relax over time. I’ve seen parts that looked fine on Tuesday completely distorted by Friday.
Why Michigan Makes Warping Worse
Michigan’s climate is brutal for injection molding. We’ve got four real seasons, which means your facility environment is constantly changing.
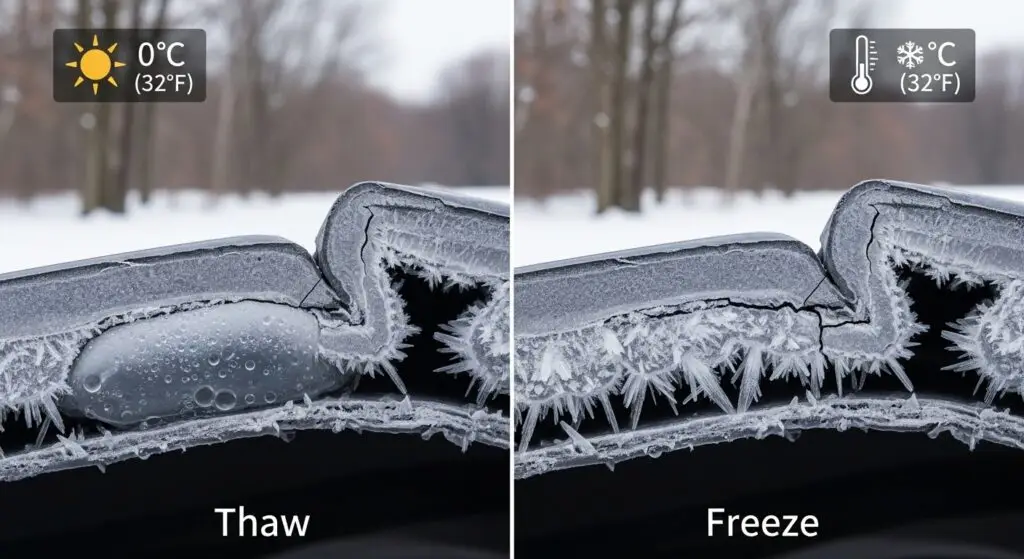
In summer, you’re dealing with high humidity—sometimes 80% or more. Hygroscopic materials like nylon or polycarbonate absorb moisture from the air, which changes their dimensions and can trigger warping. Parts that were within spec when molded grow slightly as they absorb water.
Winter brings the opposite problem. Low humidity and cold ambient temperatures mean parts cool unevenly depending on where they are in your facility. A part that cools near an exterior wall in January experiences different conditions than one cooling in the center of your shop floor.
Temperature swings between day and night, or between seasons, affect your mold temperature, material temperature, and cooling uniformity. A process that’s dialed in perfectly during October might produce warped parts by December if you haven’t adjusted for temperature changes.
And let’s be honest: a lot of Michigan facilities are in older buildings that weren’t designed with climate control in mind. If you’re in a building from the 1970s, you’re probably dealing with uneven heating, drafty loading docks, and temperature gradients across your production floor.
The Root Causes of Warping
Before we fix anything, let’s understand what causes warping in the first place.
Uneven cooling is the biggest culprit. If one side of your part cools faster than the other, differential shrinkage creates internal stresses. Those stresses pull the part out of shape.
Improper packing means different sections of the part have different densities. Lower-density areas shrink more, causing distortion.
Material orientation happens with fiber-filled resins. Glass fibers or other reinforcements align with flow direction during molding. This creates anisotropic shrinkage—the part shrinks differently in the flow direction versus perpendicular to it.
Ejection timing can cause warping if parts are ejected while still too hot. They’re not rigid enough to maintain their shape under ejection force or their own weight.
Design issues like inconsistent wall thickness, sharp corners, or ribs that are too thick practically guarantee warping. You can’t process your way out of bad design.
Fixing Warping: Start with Cooling
Cooling is where most warping problems get fixed or created. If your cooling isn’t uniform and optimized, nothing else matters.
Balance your cooling channels. Every section of the mold should cool at the same rate. Use mold temperature controllers with multiple zones if you’re molding complex geometries. Measure the temperature across different areas of the mold—if there’s more than a 10°F difference between hot spots and cold spots, your cooling needs work.
In Michigan, consistent cooling water temperature is critical. Your municipal water supply temperature varies by 30 degrees or more between summer and winter. Install chillers or heaters to maintain consistent cooling water temperature year-round. Yeah, it’s an investment, but warped parts are expensive too.
Extend your cooling time. I know, longer cycles mean lower throughput. But parts that warp are zero throughput because they’re rejects. Gradually increase cooling time until warping stops. Sometimes an extra 5-10 seconds makes all the difference.
Here’s a trick: use progressive cooling. Start with warmer mold temperatures to fill the part completely and pack it properly, then gradually reduce temperature during the cooling phase. Some modern presses can do this automatically.
Check your cooling channel design. Are they positioned to cool thick sections adequately? Are they too far from the surface? Are they plugged with scale or debris? I’ve seen molds where cooling channels were partially blocked, causing hot spots that guaranteed warping.
If you’ve got a persistent warping problem and your cooling channels aren’t cutting it, consider adding baffles, bubblers, or thermal pins to target specific hot spots.
Optimize Your Packing and Holding Pressure
Packing pressure compensates for material shrinkage as the part cools. Insufficient packing means lower density in some areas, which equals more shrinkage and warping.
Increase packing pressure gradually. Start with 50-70% of your injection pressure and work up from there. Monitor part weight—consistent part weight means consistent density, which means consistent shrinkage.
Extend holding time to ensure the gate stays packed until it freezes. If the gate freezes too early, you can’t pack the cavity properly. Do a gate seal study: gradually reduce holding time until part weight drops, then add 1-2 seconds back as a safety margin.
But here’s the balance: overpacking can also cause warping by locking in excessive stresses. You’re looking for the sweet spot where the part is fully packed but not so stressed that it distorts later.
Pack uniformly across the part. If you’ve got multiple gates, make sure they’re balanced. Uneven packing from gate to gate creates density variations that cause warping.
Material Selection Matters
Some materials are just more prone to warping than others. If you’re constantly fighting warpage, maybe it’s time to reconsider your material choice.
Semi-crystalline plastics like polypropylene, nylon, and acetal shrink more than amorphous plastics like polycarbonate or ABS. That higher shrinkage means more potential for warping if cooling isn’t perfect.
Glass-filled materials reduce overall shrinkage but create anisotropic behavior—they shrink differently in different directions. This can cause warping if flow patterns aren’t managed carefully. Consider using materials with balanced fiber orientation or random fiber distribution if warping is an issue.
For Michigan’s climate, consider moisture stability. Nylon and polycarbonate absorb moisture, which causes dimensional changes. If you need these materials, use moisture barrier packaging and dry them thoroughly before molding.
Sometimes switching to a different grade of the same resin helps. Materials with narrower processing windows or better dimensional stability can eliminate warping without changing your entire design.
Design Modifications That Stop Warping
You can’t always process your way out of warping. Sometimes the part design is the problem.
Uniform wall thickness is critical. When you have thick and thin sections in the same part, they cool at different rates. The thick section is still shrinking while the thin section is already solid, which creates internal stresses. Keep wall thickness consistent—ideally within 25% variation across the entire part.
Add ribs carefully. Ribs need to be thinner than the nominal wall—usually 50-60% of the main wall thickness. Thick ribs create sink marks and warping. If you need structural strength, use multiple thin ribs instead of one thick rib.
Radius everything. Sharp corners create stress concentrations and restrict material flow, which causes uneven packing. Add radii to inside corners and blend thick sections into thin sections gradually.
Gate location affects flow patterns and packing uniformity. If your gate is positioned wrong, you’ll get flow hesitation, weld lines, and uneven packing—all of which contribute to warping. Sometimes moving the gate or adding a second gate solves persistent warping issues.
Work with your mold designer or engineer to simulate filling and cooling. Moldflow analysis can predict warping before you cut steel, which saves a fortune in tool modifications later.
Environmental Controls in Your Facility
Michigan’s climate is uncontrollable, but your facility environment doesn’t have to be.
Climate control is worth the investment if you’re molding tight-tolerance parts or large volumes. Maintaining consistent temperature and humidity year-round eliminates environmental variables that contribute to warping.
If full climate control isn’t feasible, at least control the area where parts cool after ejection. A temperature-controlled room or enclosure where parts stabilize before quality inspection prevents surprises later.
Humidity control matters for hygroscopic materials. Use dehumidifiers in areas where molded parts are stored, especially in summer. Some facilities even condition the air around the molding machine to keep moisture away from the resin before it enters the barrel.
Seasonal adjustments to your process are sometimes necessary. Document your process parameters in different seasons so you can quickly adjust when the weather changes. What works in July might need tweaking in January.
The Post-Molding Reality
Sometimes parts warp after they leave your facility, and that’s even more frustrating because you lose control.
If you’re shipping parts to customers in different climates, consider post-mold conditioning or annealing to relax residual stresses before shipment. Heat parts to just below their glass transition temperature, hold them there for a specified time, then cool them slowly. This releases locked-in stresses that would otherwise cause delayed warping.
Packaging matters too. If parts are stacked or constrained improperly during shipping, they can warp under their own weight or from external forces. Design packaging that supports parts properly and prevents distortion during transit.
And educate your customers. If they’re using parts in high-temperature environments or exposing them to solvents, warping might be a materials compatibility issue rather than a molding problem. Make sure the plastic you’ve specified can handle the end-use conditions.
Troubleshooting Systematically
When warping shows up, don’t change everything at once. That’s how you lose track of what actually fixed it.
Start with the most likely causes: cooling uniformity and packing pressure. Make one adjustment, run a handful of parts, let them stabilize for a few hours, then measure. If warping improves, keep going in that direction. If not, try something else.
Document everything. Time of day, operator, machine, ambient temperature and humidity, every process parameter. Patterns emerge when you have data. Maybe warping happens more on third shift when it’s colder. Maybe it correlates with certain material lots. You won’t know unless you’re tracking it.
And don’t ignore obvious stuff. I’ve seen warping caused by worn ejector pins that were pushing unevenly, or by operators stacking parts improperly while they were still hot. Sometimes the fix is simple once you identify the real problem.
When Warping Won’t Go Away
Sometimes you’ve tried everything and parts still warp. At that point, you’ve got three options.
One, accept it and compensate in the mold. If parts consistently warp in a predictable way, you can intentionally design the mold cavity off-dimension so the warped part ends up correct. It’s counterintuitive but it works.
Two, change the design. If the part geometry is fundamentally causing the problem, fix the geometry. Work with your design engineer to modify wall thickness, add gussets, or change material.
Three, change the material. If the resin you’re using is too prone to warping for your application, spec a different plastic. Sometimes that’s the only real solution.
The Bottom Line for Michigan Molders
Warping is solvable, but it requires systematic troubleshooting and attention to detail.
Start with cooling—that’s where most warping gets fixed. Make sure it’s uniform, properly timed, and adjusted for Michigan’s climate.
Optimize packing and holding to compensate for shrinkage without locking in excessive stress.
Choose materials that suit your application and Michigan’s environment.
And don’t ignore design issues. You can’t process your way out of bad geometry.
Michigan’s climate makes warping more challenging, but it’s manageable once you understand the variables and control what you can control.
Because the goal isn’t just parts that look good when they come out of the mold. It’s parts that stay good weeks and months later.