Look, if you’re running injection molding operations in Michigan, you’ve probably stared at a reject bin full of parts and thought, “What the hell happened here?”
I get it. One day everything’s running smooth, and the next you’re drowning in sink marks, flash, or burns that shouldn’t be there. And here’s the thing: Michigan’s environment throws its own curveballs into the mix—humidity swings, temperature drops, you name it.
Let’s walk through the defects that keep showing up in Michigan facilities and how to actually fix them. Not theory. Real solutions that work when you’re on the production floor at 2 AM trying to salvage a run.
Short Shots: When Parts Don’t Fill Completely
You know that sinking feeling when parts come out looking half-finished? Short shots are brutal because they waste material, time, and sometimes entire tooling runs.
What’s actually happening: The melt isn’t reaching every corner of the cavity before it solidifies. In Michigan winters, this gets worse because your facility temperature drops and the plastic cools faster than it should.
Here’s what works:
First, check your injection pressure and speed. Sounds obvious, but you’d be surprised how often someone adjusted something three shifts ago and nobody documented it. Bump up your injection pressure gradually—start with 10% increases until the cavity fills.
But here’s the less obvious fix: look at your mold temperature. Michigan facilities tend to run cold from October through April. If your mold temp is sitting at 150°F when it should be at 180°F, you’re fighting physics. Install mold temperature controllers if you haven’t already. They’re not expensive and they’ll save you thousands in rejected parts.
Also, examine your gate location and size. Sometimes the issue isn’t pressure—it’s that the plastic is taking too long to travel through a gate that’s too small or positioned wrong. If you’re consistently getting short shots in the same area, that gate needs redesigning.
Flash: The Annoying Extra Material Nobody Ordered
Flash drives me crazy because it means you’re either overfilling the mold or something mechanical is off. Either way, you’re wasting plastic and adding trimming operations that kill your margins.
The real cause: Excessive injection pressure, worn mold components, or clamping force that’s too low. Sometimes it’s all three.
The fix that actually works:
Start with clamping tonnage. Calculate what you actually need based on your projected area and make sure you’re within spec. If your press is undersized for the mold, no amount of tweaking will fix flash issues.
Next, inspect your parting line. Michigan’s temperature swings can cause thermal expansion and contraction that gradually wears down mold surfaces. Run your finger along the parting line—if you feel gaps or steps, that’s where flash is sneaking through. Time for mold maintenance or shimming.
And yeah, dial back your injection pressure if it’s excessive. I know you’re tempted to crank it up to avoid short shots, but there’s a sweet spot. Use a systematic approach: reduce pressure by 5% increments and monitor fill quality until flash disappears without causing short shots.
One more thing: check your vents. Trapped air increases cavity pressure, which forces more material into tiny gaps. Clean or recut your vents every few thousand cycles.
Sink Marks: The Surface Defect That Ruins Cosmetic Parts
Nothing’s worse than pulling a part that looks perfect until you see those dimples on the surface. Sink marks are especially problematic if you’re molding consumer products or medical devices where aesthetics matter.
Why they happen: Uneven cooling. Thicker sections shrink more than thin sections, pulling the surface inward as the material solidifies.
Real solutions:
First, increase your packing pressure and holding time. This compensates for shrinkage by forcing more material into the cavity as it cools. Don’t just max it out—incrementally increase packing pressure while monitoring part dimensions to avoid overpacking.
Here’s the Michigan-specific trick: monitor your cooling water temperature. In summer, your municipal water supply might be 75°F. In winter, it could be 45°F. That 30-degree difference affects cooling uniformity. Install chillers or heaters to maintain consistent cooling water temperature year-round.
Also, look at your part design. If you’ve got thick ribs or bosses, you’re asking for sink marks. Work with your design engineer to add radiuses, reduce wall thickness, or switch to coring out thick sections. Sometimes the best fix isn’t on the molding floor—it’s in the CAD file.
And consider using gas-assisted injection molding for thick-walled parts. It’s not just for fancy applications—it genuinely eliminates sink marks by maintaining internal pressure as the part cools.
Burn Marks: When Parts Come Out Scorched
Burn marks look terrible and they mean you’re degrading your plastic, which affects mechanical properties. If you’re doing anything with medical or aerospace components, burns are an automatic rejection.
The root cause: Trapped air or excessive shear heating. When plastic moves too fast through tight spaces, friction heats it beyond its degradation temperature. Or air trapped in the cavity compresses and ignites.
What fixes it:
Add or enlarge vents. Seriously, most burn marks disappear when air can escape properly. Vents should be 0.0005″ to 0.001″ deep for most resins. If you’re molding glass-filled materials, you might need deeper vents to handle the higher viscosity.
Reduce your injection speed, especially during the fill phase. I know, faster cycles mean higher throughput. But burned parts mean zero throughput because they’re all rejects. Find the balance where the mold fills completely without excessive shear heating.
Check your resin temperature too. If you’re running too hot trying to improve flow, you’re making the problem worse. Most thermoplastics have a narrow processing window—stay within it. Your material supplier can provide the optimal barrel temperature profile.
Also, look at sharp corners or thin gates in your mold. These create shear hot spots. Radiusing sharp corners and opening up gates slightly can eliminate burns without redesigning the entire tool.
Warping: When Parts Won’t Stay Flat
Warping deserves its own article (and we’ve got one coming), but I’ll hit the highlights because it’s such a common problem in Michigan facilities.
Parts warp because of uneven cooling or residual stresses locked into the part. Temperature variations across your facility don’t help—parts cool differently depending on ambient conditions.
Quick fixes:
Optimize your cooling system to ensure uniform cooling. Hot spots cause differential shrinkage, which equals warping. Add cooling channels, balance water flow, or increase cooling time.
Adjust your mold temperature to be as uniform as possible across all surfaces. Use mold temperature controllers with multiple zones if you’re molding complex geometries.
And consider your material choice. Some resins are more prone to warping than others. If you’re constantly fighting warp issues, maybe it’s time to spec a different plastic that’s dimensionally stable in Michigan’s climate.
The Environmental Factor Nobody Talks About
Here’s something most troubleshooting guides skip: Michigan’s environment affects your process more than you think.
Humidity impacts hygroscopic materials like nylon, polycarbonate, and ABS. In summer, moisture absorption causes silver streaking, bubbles, and weak parts. You need proper drying equipment—not just any dryer, but one sized correctly for your throughput.
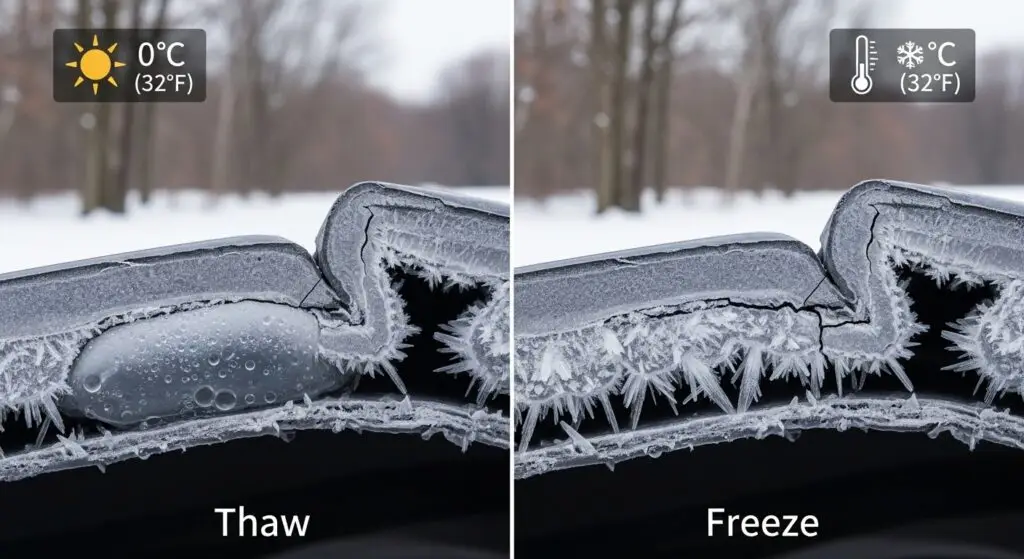
Temperature swings affect everything from material flow to mold behavior. A process that runs perfectly in July might produce defects in January if you’re not compensating for ambient temperature changes.
Keep your facility climate-controlled if possible. If that’s not realistic, at least monitor temperature and humidity so you can adjust process parameters seasonally. Document these changes so your next shift knows what’s working.
Troubleshooting Like a Pro
When defects show up, resist the urge to change everything at once. That’s how you lose track of what actually fixed the problem.
Change one variable at a time. Adjust injection pressure, run 10 shots, evaluate. Then adjust something else. Keep detailed records—time of day, operator, ambient conditions, every process parameter. Patterns emerge when you have data.
And don’t ignore your mold maintenance schedule. Worn molds cause defects no amount of process tweaking will fix. Regular cleaning, inspection, and preventive maintenance prevents most mechanical-related defects.
Systematic Approach to Fixing Injection Molding Defects in Michigan
Fixing injection molding defects isn’t magic. It’s systematic troubleshooting combined with understanding how your specific environment affects your process.
Michigan facilities have unique challenges—temperature swings, humidity changes, older infrastructure in some cases. But these challenges are manageable once you know what to look for.
Start with the basics: proper material drying, consistent mold temperatures, optimized cooling, appropriate process parameters. Then fine-tune based on your specific defects.
And remember, sometimes the fix isn’t on the production floor. It’s working with your design engineer to modify part geometry or your purchasing team to spec better materials.
Because at the end of the day, a bin full of good parts beats a bin full of explanations for why they didn’t work out.