
Ronningen Research & Development
How to specify a leak test for a plastic housing
· Published by Ronningen Research & Development
A useful leak-test specification connects a plastic housing's function to a measurable acceptance decision. It identifies the exact assembly, what is being sealed, the test method and conditions, the limit and its units, and the record needed to accept or reject the part. “Must not leak” leaves too many of those decisions open.
Start with the questions below before asking a supplier to quote or develop the test. The pressure, timing and acceptance limit must be agreed for your product; there is no single setting that this checklist can prescribe for every housing.
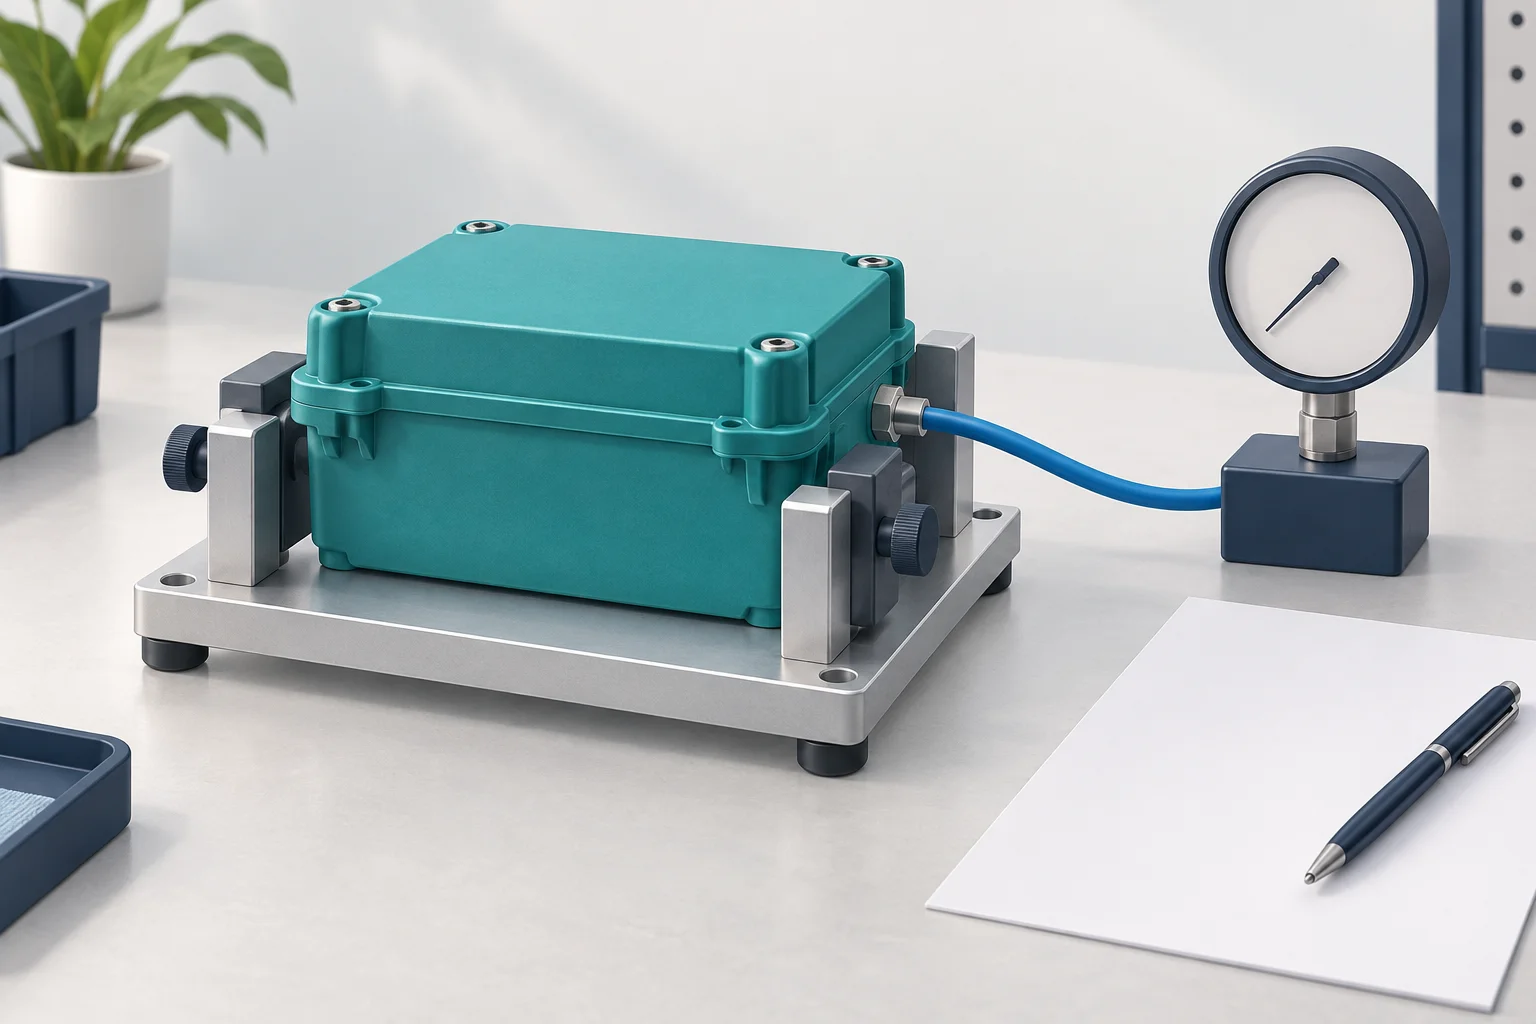
AI-generated concept illustration: a housing, fixture and unmarked instrument. It is not a Ronningen customer part, facility photograph or production setup drawing.
1. Define the part and the leak path
Specify the part and drawing revision, material grade, assembly revision and condition at the time of testing. A bare molding, a welded housing and a finished assembly with seals and connectors are different test articles. Identify which one the result must describe.
Mark the test boundary on a drawing: which cavity is tested, where test equipment connects, which openings are temporarily sealed, and which product joints remain part of the test. Ask the supplier to review whether its connections could cover a feature you actually need to evaluate.
For a housing joined after molding, use our ultrasonic welding overview to frame the joining discussion. Then specify whether leak testing occurs before or after that operation. The test plan should follow the relevant assembly state, rather than relying on the part name alone.
2. Separate the functional requirement from the test method
Describe what the housing must contain or exclude in service and the consequence of leakage. Give the responsible product engineer any applicable customer requirement or test procedure, including its revision. Ask how the proposed production test relates to that requirement.
Method names alone do not define acceptance. For example, Cincinnati Test Systems' pressure-testing overview distinguishes tests with different purposes and describes pressure-decay results expressed as a pressure change, a change over time or a leak rate. A strength test and a leak test answer different questions; put each required result in the scope explicitly.
Ronningen's plastic leak testing service page is a starting point for discussing methods. Ask the team to confirm the method, equipment and achievable measurement performance for your particular assembly.
3. Write the conditions beside the limit
Record the test medium, pressure or vacuum level, pressure reference and allowed variation. Identify the measurement being judged: for example, a pressure change during a defined observation time or a flow result in clearly stated units. The instrument, method and product requirement need to use a consistent basis.
Be careful with an entry such as “cc/min.” CTS explains the distinction between standard and actual volumetric leak-rate units. Standard cubic centimeters per minute, often written sccm, refers to a stated reference temperature and pressure; actual volumetric flow refers to conditions at measurement. Specify the reference conditions rather than assuming two abbreviated readings are directly comparable.
Have the responsible engineer approve the allowable limit and the decision rule, including how borderline results will be handled. Keep an unresolved limit marked as an open decision. A convenient instrument setting is not, by itself, a product acceptance requirement.
4. Include the fixture, timing and temperature
The measurement depends on more than the display setting. Record the fixture revision, connection arrangement, sealing details and relevant test-circuit volume. Document changes to tubing or tooling so the supplier can assess whether they require the test to be reviewed.
For pressure decay, distinguish filling, settling and measuring. The Zaxis Z-Series User Guide, in its section on building a pressure-decay test, describes these stages and the influence of part compliance and thermal effects. Its example settings are instrument guidance, not approved settings for your housing. Ask for a cycle developed and checked with representative parts.
Specify the condition in which parts arrive at the station, including any cooling or conditioning requirement after an earlier operation. CTS's temperature-control guidance explains why a warm production part and an ambient-temperature reference part can behave differently. Agree how the process will control or account for that difference before interpreting every pressure change as leakage.
A worksheet for the specification review
Use this as a discussion record. For each row, attach the agreed value or document, name the person responsible for approval, and mark unresolved items. The supplier should confirm the completed plan before it becomes a production instruction.
| Decision | What to record |
|---|---|
| Test article | Part, drawing and assembly revisions; material; installed seals, joints and connectors. |
| Boundary | Tested cavity, connection point, temporary closures and product features included in the test. |
| Requirement | Function being protected, governing document and link between the requirement and proposed method. |
| Conditions | Medium, pressure basis, permitted variation, part condition and temperature controls. |
| Acceptance | Measured quantity, limit, complete units, reference conditions and borderline-result decision rule. |
| Test setup | Instrument/program and fixture revisions; connections; fill, settle and measurement times where applicable. |
| Verification | Reference checks, verification frequency, representative samples and response to a failed check. |
| Records | Part or lot identity, result, units, program revision, date, disposition and retained retest history. |
5. Agree how the test will be checked and recorded
Ask what verifies the instrument and what demonstrates that the complete setup can distinguish the agreed acceptance cases. Those are related questions, but one certificate does not describe the entire production process.
When a leak standard is used, record its identity, certified flow and conditions, and current certification status. CTS's leak-standard guidance relates the standard's flow to specified pressure conditions. Have the supplier define suitable checks and their frequency for the application; do not transfer a manufacturer's general service interval into your contract without review.
Agree how failed tests, setup errors and retests will be distinguished in the record. Preserve the original result when a repeat is allowed, and document the reason. Decide who may change the program or fixture and what review follows a change. These are proposed recordkeeping decisions for the project, not a claim about an existing Ronningen reporting package.
Example: a housing tested after joining
Consider a fictional two-piece housing that is joined before testing. The drawing revision is approved, but the test connection and acceptance limit remain open. Record those two gaps explicitly. Ask the supplier to review a marked boundary drawing and representative joined samples, then have the responsible engineer approve the method-to-requirement relationship and limit.
A “pass” on a bare lower shell would not answer the same question as a result on that joined assembly. Keeping the assembly state and open decisions visible makes the next review useful without inventing pressure or timing values.
Prepare the conversation with Ronningen
Bring the current drawing, an assembly description, the functional requirement and your completed portions of the worksheet. For broader quote inputs, use the injection molding RFQ checklist. If testing needs to fit into a joining or assembly sequence, review assembly and sub-assembly services with the team.
Contact Ronningen to discuss feasibility, the remaining decisions and how to share your files. An agreed specification gives both sides a clearer basis for the test scope and the resulting quotation.
Discuss your project
Talk with the Ronningen team
Share your part design, material requirements, expected quantities and delivery needs. Our team can review the next steps with you.